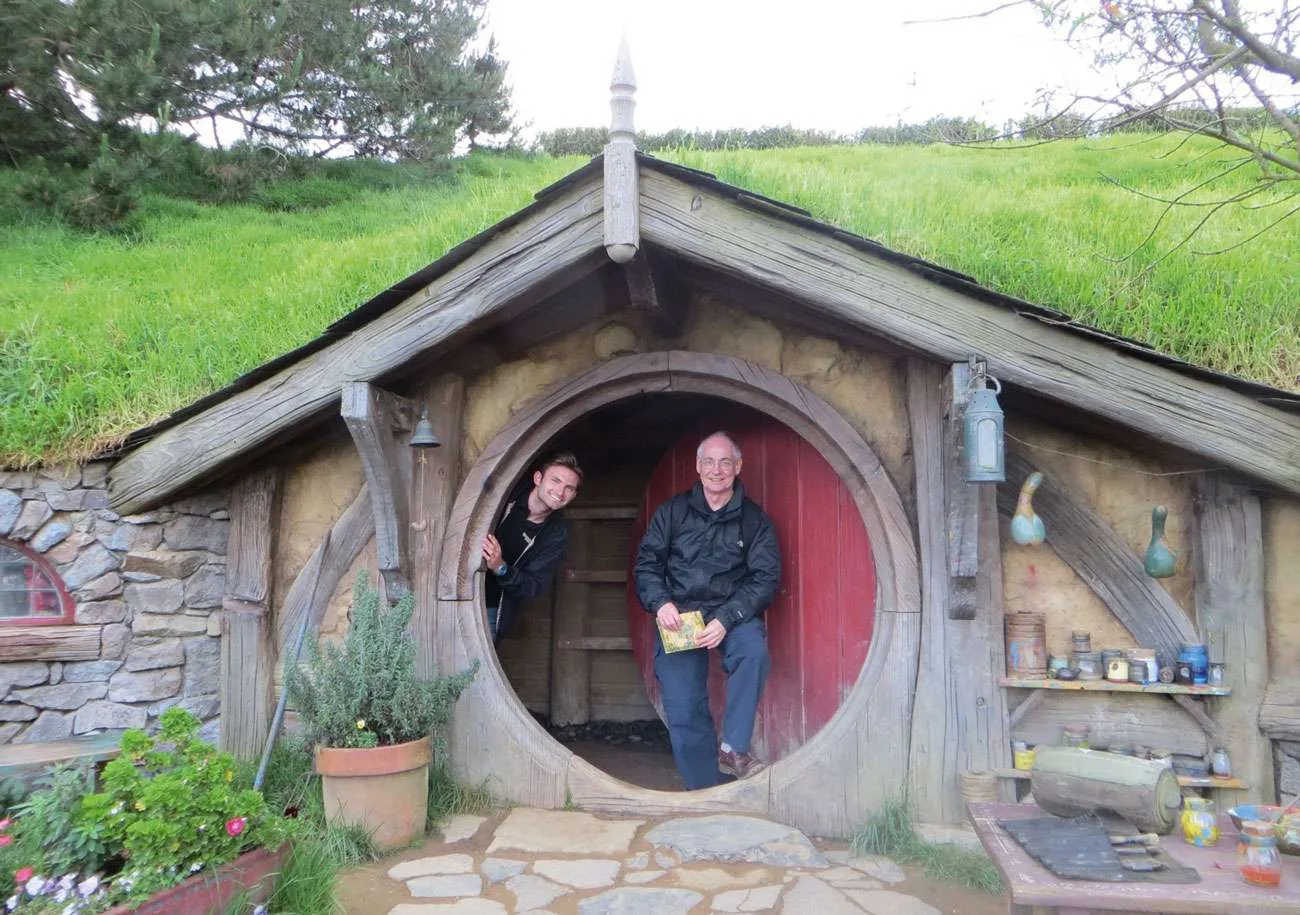
David (left) and Keith in New Zealand
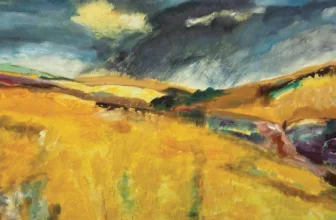
Keith and David, god-father and god-son, have spent the past 16 years making scenic models for David’s army of Middle Earth Warhammer figures. Working from their homes in Derbyshire and Surrey they have sought to create in miniature some of the amazing scenery and film sets seen in ‘The Lord of the Rings’ and ‘The Hobbit’ film trilogies.
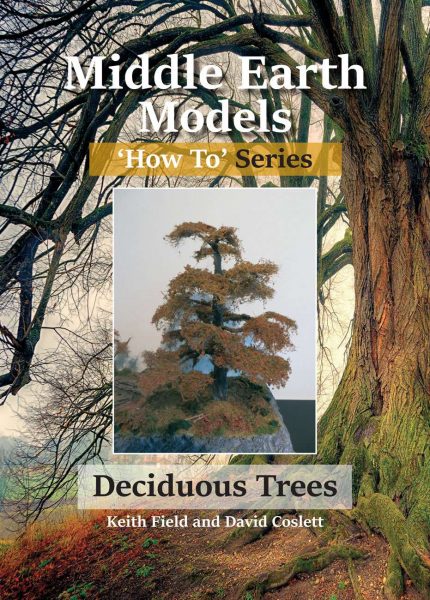
Following the success of their ‘How to make Rock Formations’ guide, they have just produced their second guide ‘How to Make Deciduous Trees’ in which they share more of their modelling skills and tips.
Part of the fun in making the models has been learning to use everyday objects in completely new ways. Staff in the local handyman stores now know that a tube of bathroom sealant or builder’s caulk or a plasterboard metal corner strip is more likely to be used to make a waterfall, a tree or some leaded-light windows than for normal home DIY purposes! In the following edited extracts from their new book they describe some of the key stages in making a signature deciduous tree.
Copyright © Keith Field and David Coslett 2019
Getting Started
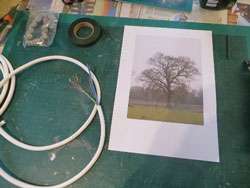
Before starting any model it is crucial to gather pictures of what you wish to model. Do not rely on memory. In the case of trees get as many pictures of real trees as you can.
Get the shape right and people are more likely to identify which trees you have modelled. Ash trees have a more vertical shape than the oak and maple,
whilst the hazel is multi-stemmed with no obvious ‘trunk’.

Materials
These are the key materials we used to make our large deciduous tree:
- Multi-core copper wire
- Florists’ tape
- Builders’ caulk
- BBQ sticks or a long nail
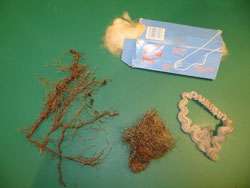
- False hair or ‘Woodland Scenics’ Poly Fibre
- Paints – spray, acrylics and children’s bottled paints
- Various packs of foliage, flock and scatter materials.
- We use Woodlands Scenics’ Course Turf mixed with their ‘Fine Turf’
- White glue
- Extra hold Hairspray
- Other materials that can be used are:
- Florists’ wire
- Old bonsai trees
- Roots from old garden shrubs and trees
- Sea-moss
The Framework Of The Tree
Choose a photo of the tree you wish to model and keep it in front of you as you work. Cut one or two lengths of multi-core wire, longer than the height you wish the tree to be. This allows you to create roots, as well as a trunk and branches.
Taking a sharp craft knife, slit open the outer layer of plastic and peel it back to reveal the three or more inner pieces of wire, each with their own different coloured coating of plastic. Cutting away from you with the craft knife, carefully shave away the inner plastic coating from the copper wire. Be careful not to cut the fine copper strands.
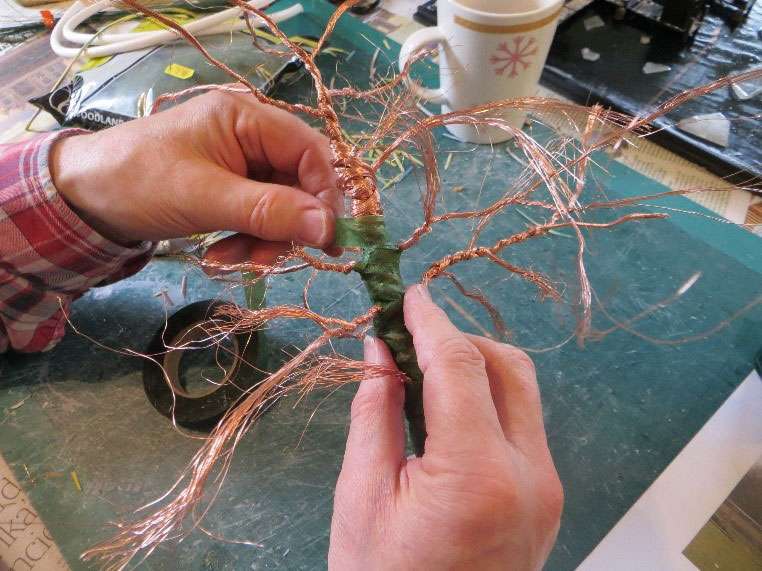
Take a long metal nail or a wooden barbecue stick. This will be the supportive ‘core’ of the tree and make a fixing peg for later on. Because we knew our tree would be over 30 cm high and quite weighty we bound three barbecue sticks together with florists’ tape to give added strength and also more bulk to the trunk as shown above. Florists’ tape magically sticks to itself!
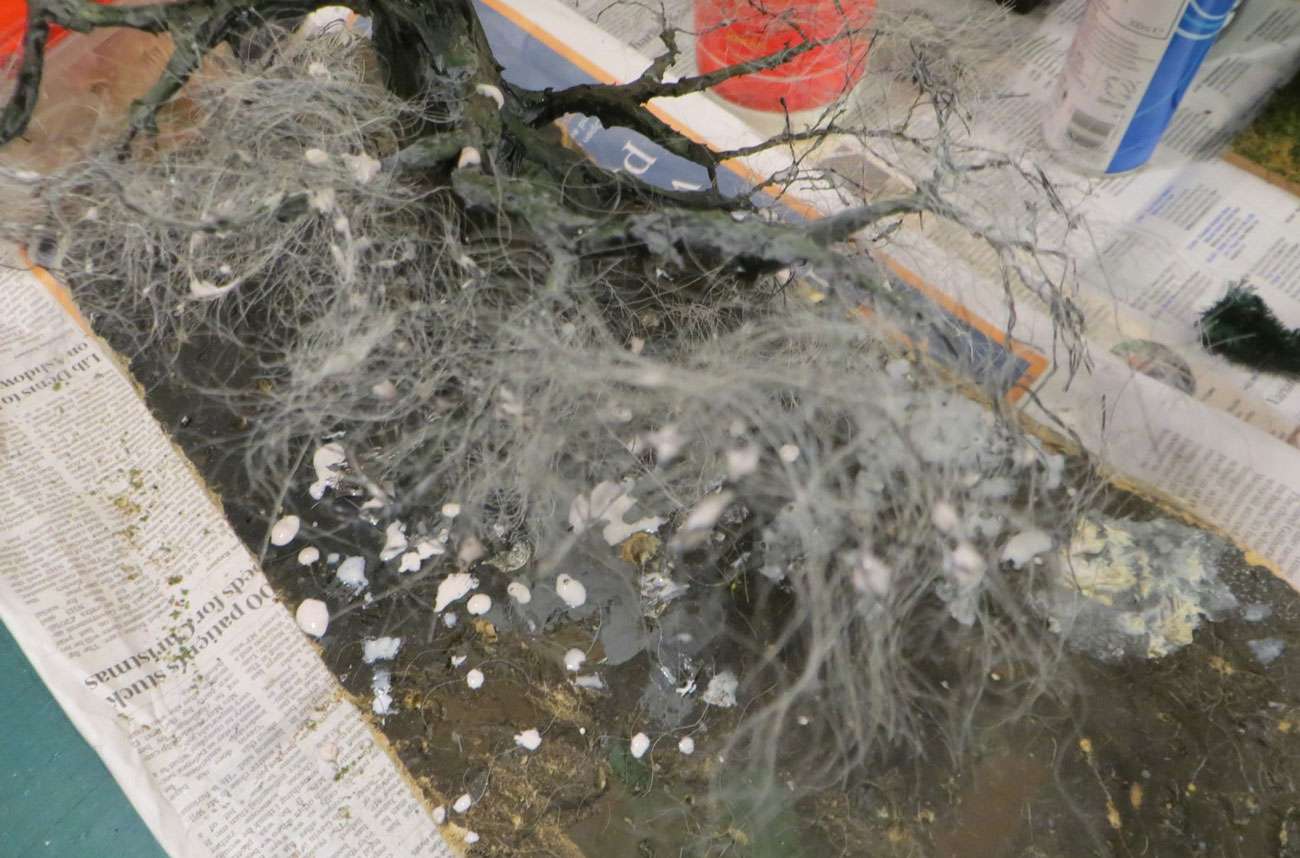
Wind the wire round the barbeque sticks creating branches and roots as required, holding the wire in place with more florist’s tape. Working with wire can be quite tough on the fingers so plenty of hand lotion may be needed afterwards.
The individual strands of wire can then be teased out and twisted into shape to create the smaller branches and twigs. Use pictures of twigs to see how they divide in real life.
Twigs spread out from a branch both horizontally and vertically. Generally, the more kinks you put into each strand of wire the better! Trim any over-long strands of wire as necessary.
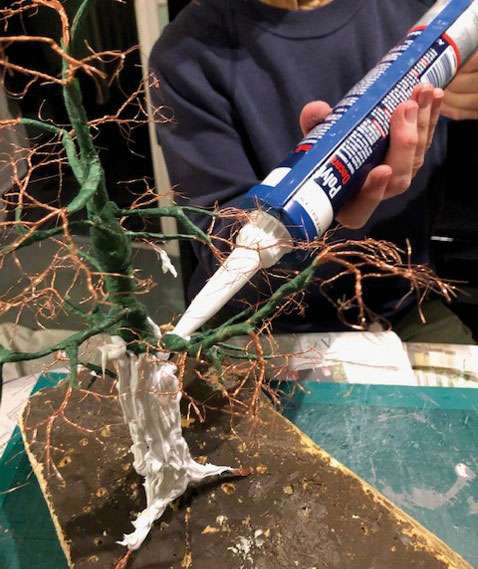
Do not worry too much if pieces of caulk get caught in the finer twigs of the tree. Some can be smoothed out but they will be covered by foliage later.
Once the caulk is dry the tree can be painted. Spray painting is the best way to ensure every twig and crevice gets a good covering of paint, as there is nothing more disconcerting than glimmers of shiny copper wire shining through the foliage later on!
The Leaf Canopy
Cut small strands of postiche or polyfibre, tease them out and, using white glue or a spray adhesive, stick the fibres onto the wire ‘twigs’.
Colour
Leaves on a tree rarely look identical in colour. Even if they are all the same colour, the way the light plays on them makes some look lighter in tone than others. Therefore no one pack of foliage or flock is sufficient to create a convincing effect; a blend of different colours, shades and even types of flock is recommended.
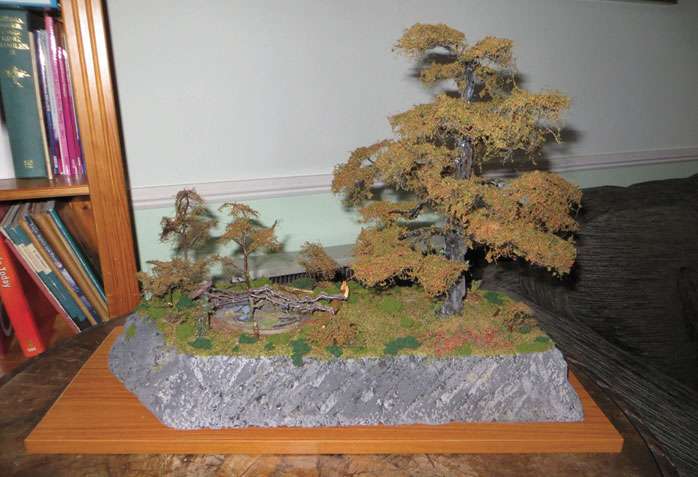
Look at photographs of the leaf colours of trees taken at different times of year and in different lights. We used a mixture of different coloured flock and scatter materials to create the textured and muted effect we wanted for an oak tree in early autumn.
The easiest way to fix the foliage to the tree is using a cheap, ‘extra hold’ hairspray as shown in the photograph.
We hope you have found this brief outline useful and interesting. If you would like to purchase a copy of either of our ‘How To’ Guides you can order them on our website at http://middleearthmodels.com/product-category/book/
You can also contact us and follow us on social media. 
Facebook: @MiddleEarthModels
Twitter: @MEarthModels
Instagram: @MiddleEarthModels
Website: www.middleearthmodels.com
Copyright © Keith Field and David Coslett 2019