I’ve been making soap (and lots of other stuff) for a long time. It’s such a magical process and I generally make up enough for about a year or so. It’s also of course much cheaper than buying it, plus you have the added benefit of knowing exactly what’s in it.
For example: no unsustainable palm oil, no synthetic perfumes and no unnecessary ingredients. Even a well-known brand that promotes itself as “natural” has the following ingredients:
Sodium Lauroyl Isethionate, Stearic Acid, Sodium Tallowate Or Sodium Palmitate, Lauric Acid, Sodium Isethionate, Water, Sodium Stearate, Cocamidopropyl Betaine, Sodium Cocoate Or Sodium Palm Kernelate, Fragrance, Sodium Chloride, Tetrasodium Edta, Tetrasodium Etidronate, Titanium Dioxide (Ci 77891) . . . and I’ve no idea what half of these ingredients are apart from the palm oil and water!
Anyway, if you like the idea of having a go yourself, there are some things you need to be aware of (from a safety perspective) when you’re mixing the main ingredients together. There are actually just three main ingredients and these are:
- Water
- Fat
- Sodium hydroxide (or caustic soda – not to be confused with washing soda which you can use to make your own washing powder or liquid)
Mixing the caustic soda and water together creates a substance called “lye” which is very alkaline and as such it can burn you, so you need to be careful when using it. Once the saponification process has taken place (that is, once it’s turned into a soap mixture) there’s then no lye left, which is why it’s super important to weigh the ingredients precisely!
You need some “equipment” together for making your own soap. Obviously, you needn’t buy new stuff if you can source what you need at home, so have a look in your kitchen cupboards and see what you can spare – the point being that it’s a good idea to just then keep that equipment for soap-making, rather than using it again for food preparation!
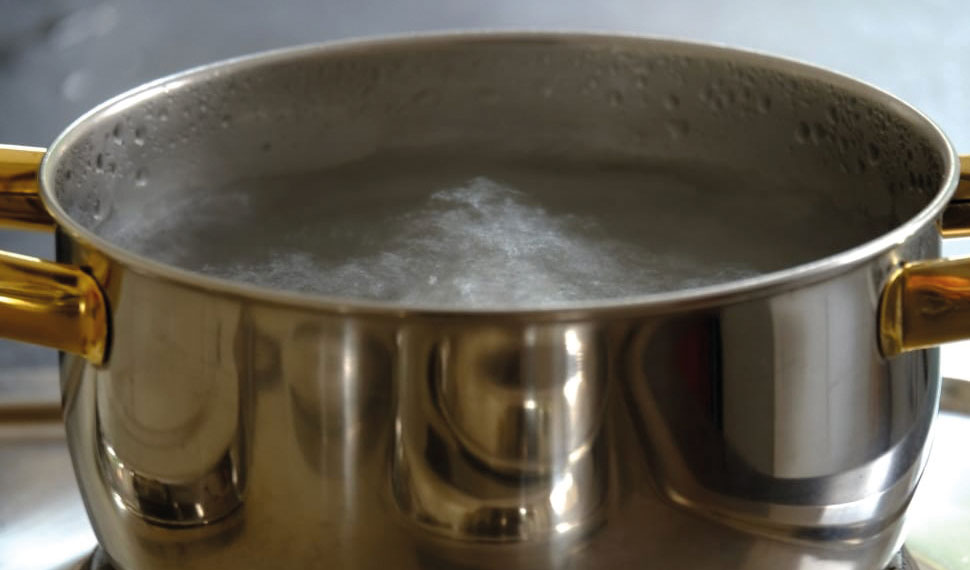
Most importantly, you’ll need a stainless steel saucepan. It’s really important that it’s stainless steel, otherwise you may end up with an unwanted reaction when you mix the lye. In addition, you’ll need:
- Stainless steel spoons (teaspoons, dessert spoons and tablespoons)
- Wooden spatula (not plastic ones)
- A heatproof jug (like pyrex) to mix the lye (definitely NOT plastic!)
- Scales – measuring exact amounts is very important as I’ve already mentioned and it may be easier to use digital scales for this
- A face mask
- A long handled blender (the sort you use for blending home-made soup)
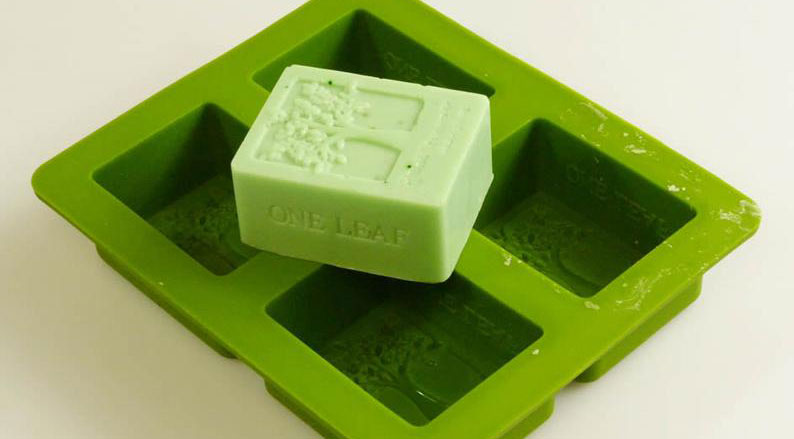
- Soap moulds. You can either use bowls or cake tins etc. or you can buy soap moulds online (there are a dizzying array to choose from). I have silicone moulds and whilst I don’t immediately go out and buy new items as a first port of call, the silicone soap moulds were really worth it as you then don’t need to line the moulds, plus it’s a whole lot easier to get the soap out of the moulds when it’s ready – I’ve used the same ones for years and they’re still as good as new. I have a particularly pretty one with the tree of life on it that I’m fond of. If you do decide to use cake tins or other stuff you already have at home, you’ll need to line them before pouring in the mixture – greaseproof paper is fine or you can use cling film, but I have to admit that I’m not a fan of cling film generally.
- Some old towels
- Old clothes! It goes without saying that you really don’t want to be dressed in some of your good clothes for making soap!
- Gloves and goggles preferably, in case of spills
- Kitchen cloths and towels
- Soap cutter (it really is best to buy one of these)
- A box or container to store the soap whilst it’s curing.
. . . and here’s the recipe for a very simple bar of what’s called “traditional” soap. It’s actually quite easy to make really, once you’ve got used to working with lye (which can feel a bit scary at first, although some of you may already be used to using caustic soda).
Simple Olive Oil Soap Ingredients:
50ozs olive oil
15ozs water (preferably distilled water)
6.3ozs caustic soda crystals/powder/beads
Essential oil of your choice (you’ll probably need about 15g) which seems a lot but don’t forget that this recipe will make a lot of soap so you won’t need to buy any for at least a year!
Method:
- Measure your ingredients exactly (as I’ve already said above, it’s really important to be exact with the measurements.
- Mix the lye into the water (never mix the water into the lye as it’s more likely to splash you) – it will get hot really quickly so be careful. Once you’ve mixed it in, leave it to stand until it’s warm to the touch but no longer hot.
- Now, slowly mix in the oil a bit at a time.
- Once you’ve done this you’ll need to carry on mixing until the mixture shows a trace (much like if you’re whisking something like cream). At this stage, it’s a really good idea to use an electric hand blender but you need to just blend for about 15 seconds and then stir in for a bit too. Carry on until the mixture has thickened and you can see the “trace” left on top of the mixture.
- Once it’s at the right consistency, now add the essential oil (I would thoroughly recommend using essential oils as opposed to perfume fragrances – there really is no comparison and once you’ve crossed that line, you won’t want to go back!
- Now you need to spoon the mixture as quickly as possible into the moulds (make sure your moulds are lined already if you’re not using silicone ones).
- Set aside for 24 hours, covered with cardboard and towels.
- After 24 hours, turn the soap out of the moulds and place in a box or some other container. It’s probably best if the soap is slightly raised off the bottom of the container so that the air can get at it.
- If you’ve used something like a loaf tin then you’ll need to cut the soap before you put it in the box. This is because at this stage, it’s much easier to cut because it’s still soft.
- Once all the soap is in the box, close it and place the box somewhere warm and dry where it can be left for four weeks (yes, four weeks!). Soap has to “cure” which is the natural hardening process.
- After 4 weeks, your soap is ready and as I’ve said above, it will give you a nice stock to be going on with, with no dodgy ingredients or ones that are damaging to the planet!
Have fun!
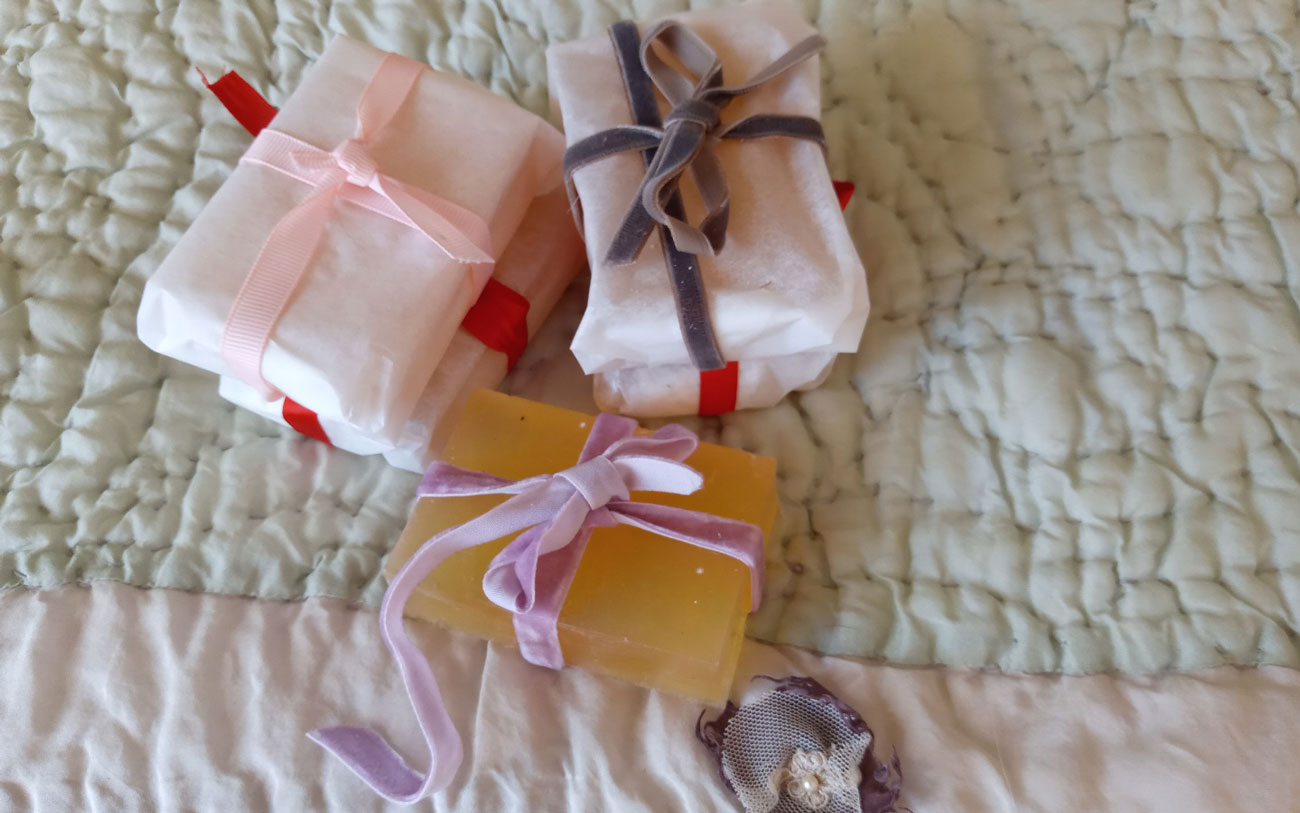
(NB. The picture below is of my last batch of soap which was a different recipe, so it won’t look the same as the above recipe. I also like to wrap my soap in greaseproof paper and tie it with ribbon whilst it’s waiting to be used).