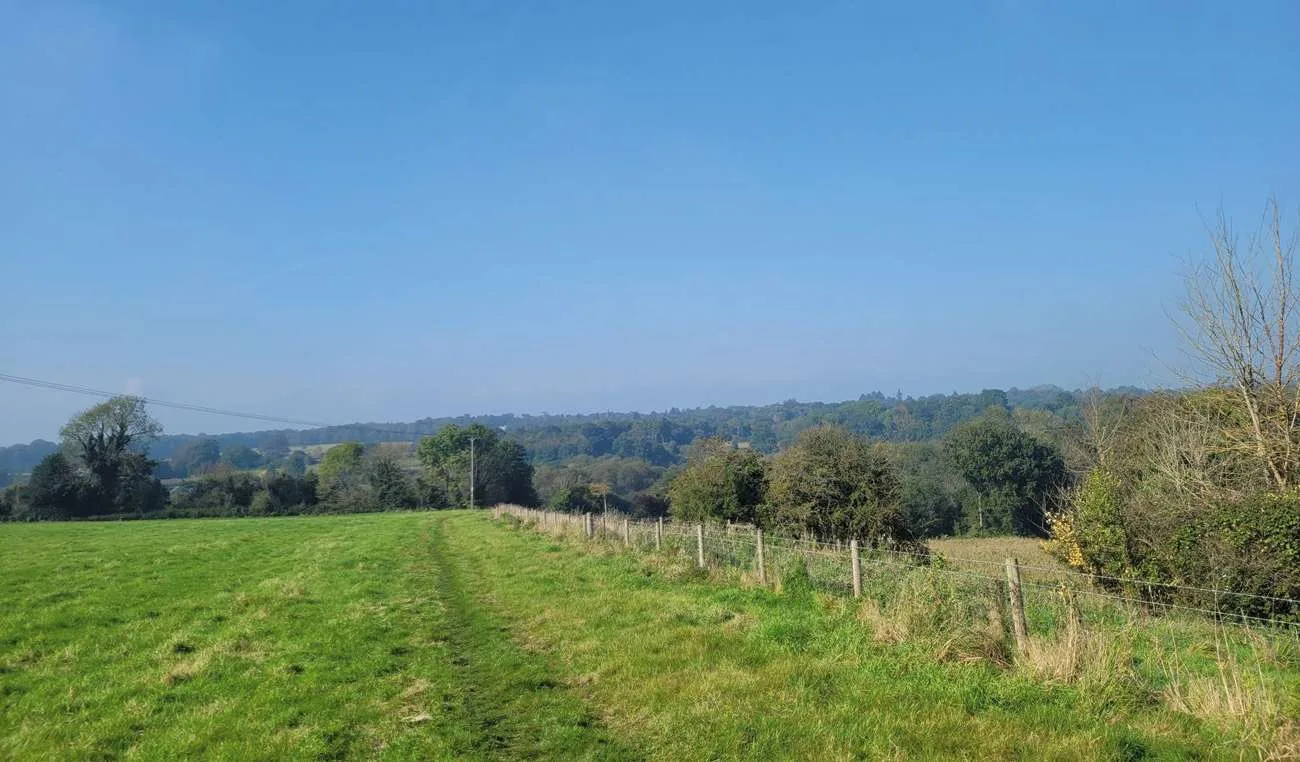
Photo by a User on AllTrails
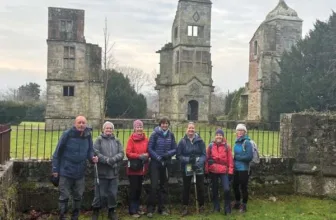
A circular walk from Godalming Station in Surrey, exploring the valley of the River Wey, west of the town including the medieval stone bridge in Eashing. Enjoy this trek and opportunity to dive back into nature and feel that connection once more.
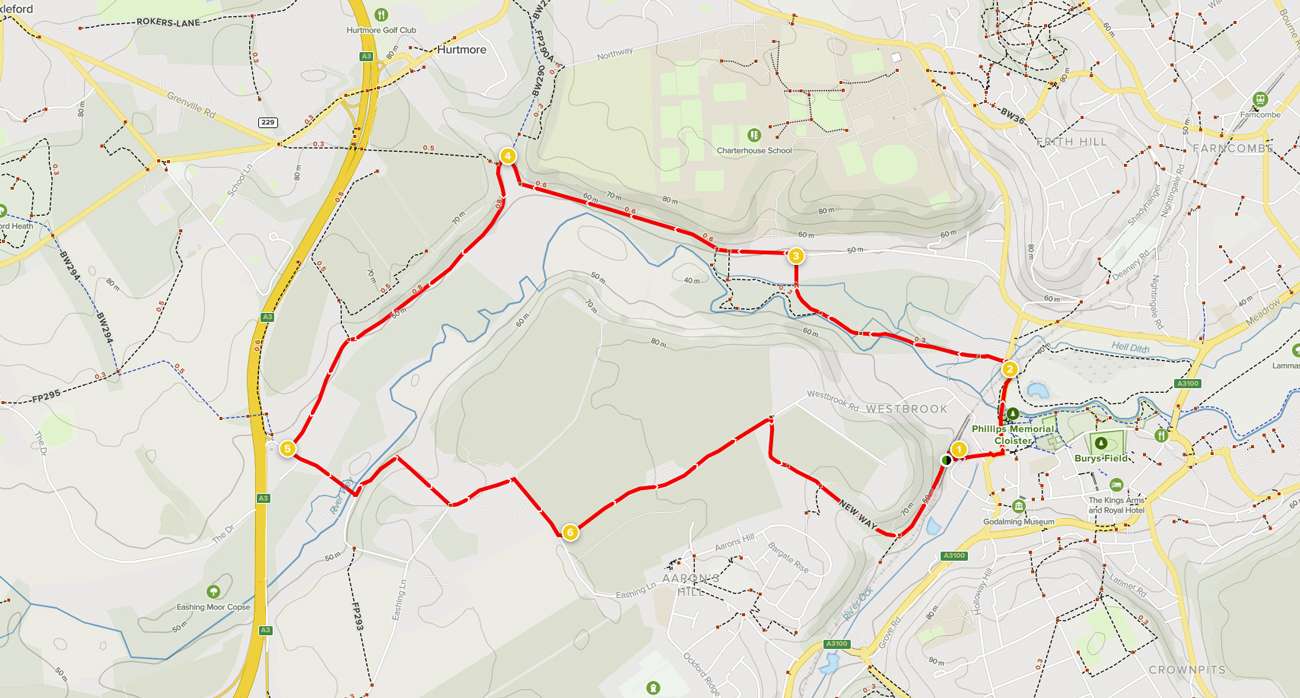
Distance: 6.6 km
Time: Est. 2 hrs 6 mins
Route Type: Loop
Elevation Gain: 206 m
Waypoints
1. Start to Railway Bridge
Leave Godalming rail station via the main exit, cross the road and turn left along the pavement. Where the road bends right, fork left to join the tarmac footpath ahead. Go straight on, crossing over the side road Westbrook Road, and then take the next left, Borough Road, passing the Church of St Peter and St Paul on your right. Just beyond the bus stop, fork left onto the stone public footpath and follow this across the wooden footbridge over the River Wey. Beyond the bridge, keep straight ahead, passing some offices on your left. Rejoin the pavement and follow this as it swings left to lead you under the railway bridge.
2. Railway Bridge to Peperharow Road
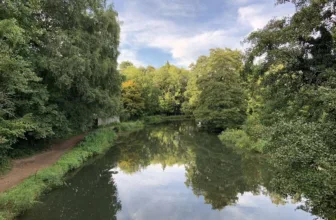
About 20 metres beyond the railway bridge, turn left onto the signed public footpath and follow this with a stream running on your right. Cross over the entrance drive for Westbrook Mills and keep ahead to continue on the tarmac footpath. Further along, the tarmac path runs alongside the River Wey on your left and then later leads you over a wooden footbridge with a beautiful weir across to the left. Further still, at the fork, stay with the main surfaced path which swings right leading you between sections of marsh, under powerlines, over a footbridge and then uphill between houses to reach a junction with the road, Peperharow Road.
3. Peperharow Road to Garden Wall Corner
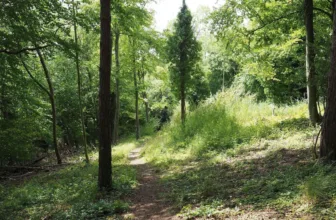
Turn left along the road and, at the end, keep straight ahead on the public footpath into Milton Wood. Go through the staggered barrier ahead and continue on the obvious path with the woodland sloping up to your right and down to your left. You will be able to see the River Wey meandering in the valley bottom to your left. Stay with this path which leads you over several boardwalks and via flights of steps, taking care as it can be very muddy and slippery in part. Eventually you will emerge from the woodland via another staggered barrier. Stay with the path ahead, passing a large property on your left, and passing through a gateway to reach the tarmac access drive. Bear right along this drive and continue only until you reach the corner of a garden wall on your right.
4. Garden Wall Corner to Lower Eashing
Do NOT turn right here, instead keep ahead for a few paces and then turn left onto the signed bridleway into the woodland. Stay with the main bridleway which climbs steadily, swinging left and then continues along a ridge within the woodland. Beyond the woodland, the bridleway leads you under power lines and continues with a horse paddock on the left. Just beyond an old brick pillbox, pass through the wide wooden gate and keep directly ahead on the concrete drive with horse paddocks still immediately on your left. Continue ahead, past the stables and a couple of houses, to reach the T-junction with the road, Lower Eashing.
5. Lower Eashing to Halfway Lane
Cross over and turn left along the lane and soon you will be able to join the right-hand pavement. As the pavement ends, continue along the road edge and follow this over Eashing Bridges. Turn left to join the signed public footpath running immediately alongside the River Wey on your left. The path climbs first steadily and then more steeply to reach a kissing gate. Go through this into a pasture and follow the path directly ahead to reach a stile. Cross this and continue a few paces forward to reach the road. IMPORTANT NOTE: The next 500 metres of route follows the edge of this road, which can be busy and has a number of bends. For your safety use the grass verges where possible and swap between the two road edges to ensure you are visible to the traffic. Turn left along the road, follow it around a sharp right-hand bend and continue past the complex of barns on the right. 150 metres later, turn left into Halfway Lane.
6. Halfway Lane to End
Follow Halfway Lane, a tarmac access lane, for some distance. You will pass the Fitzpatrick Vet Hospital on your left and then come to a junction of paths alongside a single cottage, Far Cottage. Stay with the main bridleway lane which swings right and then left to pass another property on your right. Keep ahead as the bridleway lane narrows to a stone path heading downhill through a tunnel of trees and follow this all the way to the bottom. At the end, join the tarmac lane which swings steadily left, passing between old cottages. Continue directly ahead, with the rail line running on your right and you will come to the rear of Godalming Station on your right, where the walk began. Turn right through the gates onto Platform 1. If you need to get to Platform 2 or the car park, turn left along the platform to reach the underpass that will lead you under the railway.
See more info on the walk at: www.alltrails.com